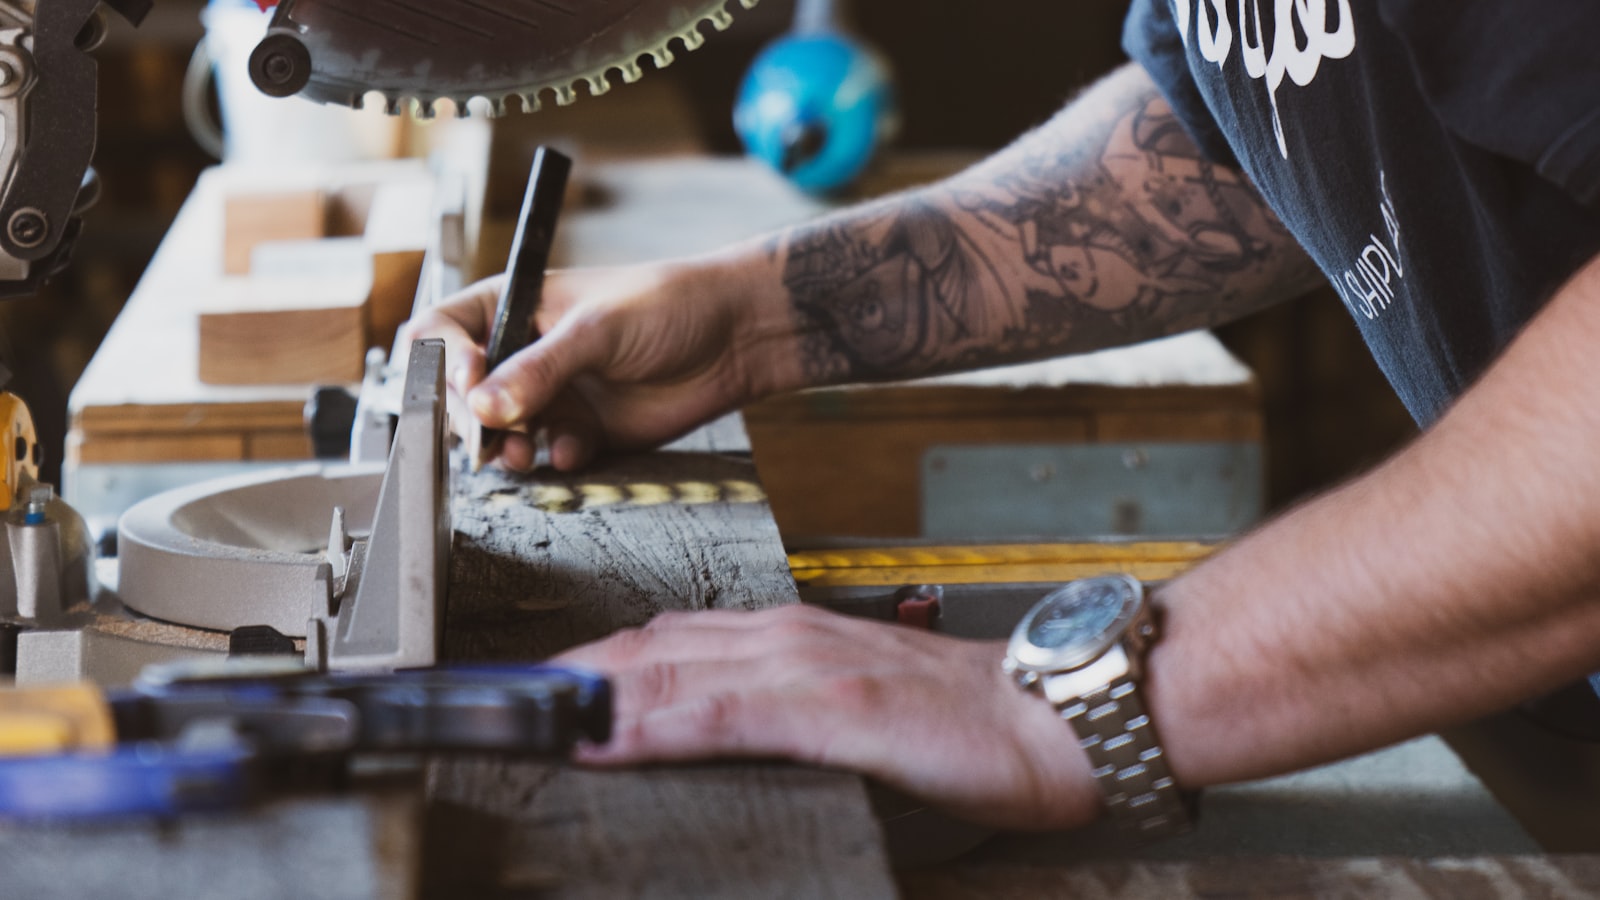
There is a stubborn myth in woodworking that hand-cut dovetails belong to a gifted few, and that the rest of us should buy a router jig and be done with it. I understand the appeal, but after a couple of decades of cutting drawers by hand I can tell you the truth is less romantic and more encouraging: dovetails are a sawing skill, not a talent. If you can learn to follow a line with a saw, you can cut a joint that looks like it belongs on furniture your grandchildren will fight over.
Why Skip the Jig at All#
Let me be fair to the jig first, because I own one and it earns its keep on a run of thirty identical kitchen drawers. But for the way most of us actually work, hand-cutting wins in ways that matter.
- No setup tax. By the time I've clamped and dialed in a router jig, I've already sawn a corner by hand. For one or two drawers, the jig is slower.
- Any spacing you want. Machine-cut dovetails are evenly spaced because the template says so. By hand you can cut narrow pins, fat tails, whatever suits the piece. That fine, delicate pin line is a hand-tool signature.
- Skills that transfer. Learning to saw to a line makes you better at every other joint you'll ever cut. A jig teaches you to follow instructions.
The trade-off is honest: your first joints will have gaps. Everyone's do. The good news is that a first joint with a small gap is still perfectly strong, and it hides beautifully at the back of a drawer where nobody but you will ever look.
The Small Kit You Actually Need#
You do not need a wall of tools. You need a few good ones that are sharp.
- A dovetail saw or gent's saw with 15 or more teeth per inch, filed rip. Rip filing matters because you're cutting with the grain.
- A marking knife. A cheap one is fine; a dull one is not.
- A marking gauge to set your baseline. A wheel gauge is the easiest to read.
- A couple of bench chisels, say 1/4" and 1/2", genuinely sharp.
- A sliding bevel or dovetail marker for the angle, plus a small square.
That's it. Notice there's no jig, no fixture, and nothing that needs a manual.
A Word on the Angle#
People agonize over dovetail angles. Don't. The convention is roughly 1:8 for hardwoods and 1:6 for softwoods, which translates to a slope a hair over 7 degrees for hardwood and around 9.5 for softwood. The reasoning is that softwoods crush more easily, so a steeper angle gives more mechanical grip, while hardwoods hold with a shallower slope and look cleaner. Honestly, anything between those two extremes works. Pick one, set your bevel, and stop thinking about it. Consistency across the joint matters far more than the exact number.
Start With Sharp Marking#
Everything downstream depends on your layout lines. A pencil line is fat and vague; a knife line is a physical groove that the saw and chisel can drop into. This single habit separates joints that close up from joints that fight you.
- Set your marking gauge to the thickness of the mating board plus a whisker. That whisker gives you a proud surface to plane flush later.
- Scribe the baseline all the way around both boards. This line is where your saw stops and your chisel finishes.
- Lay out the tails on the end grain with your bevel and knife. I like a half-pin at each edge for strength, then space the tails by eye.
Even spacing looks machined and, to my eye, a little lifeless. I let my tails vary a touch on purpose. The Victorians did it, and their drawers still slide.
Cut the Tails First#
Cutting tails first, then using them to mark the pins, is the approach I'd recommend to anyone starting out. The tail board is the more forgiving of the two to saw because the angled cuts are visible and natural to follow.
Sawing to the Line#
This is the whole game. Clamp the board upright, cant it so the line you're cutting is vertical, and remember these:
- Start on the far corner with a couple of gentle backward strokes to establish a kerf. No downward pressure at all.
- Let the saw's weight do the cutting. Pushing bends the blade and wanders the cut. Long, relaxed strokes.
- Split the line, leaving it. Aim to leave the knife line just barely visible on the waste side. You can always pare to it; you can't put wood back.
- Watch two faces at once. Track the line on the front and the top edge together so the cut stays square through the thickness.
If your saw drifts, stop and look at where your elbow is pointing. Nine times out of ten, a wandering cut is a body-alignment problem, not a hand problem. Your forearm should swing like a pendulum straight along the cut line. Practice on scrap first. Ten minutes of deliberate sawing on a pine offcut will teach you more than any article, this one included.
Removing the Waste#
Once the tails are sawn, clear the waste between them. You can coping-saw most of it out and chisel the rest, or just chisel the whole thing if the gaps are narrow.
- Chop straight down on the baseline with the chisel's bevel facing the waste, taking light bites, not one heroic blow.
- Come in from both faces to meet in the middle rather than driving all the way through from one side, which blows out the back.
- Undercut the middle very slightly so the baseline corners are the last wood touching. A dead-flat or hollow socket seats better than a bulging one.
Transfer and Cut the Pins#
Now the part that feels like a magic trick the first time it works. Stand the pin board upright in the vise, lay the completed tail board on top of it aligned to the baseline, and knife the tail shapes directly onto the pin board's end grain. This transfer is why the joint fits: the pins are copied from your actual tails, not from an independent measurement, so any small imperfection in the tails is simply matched rather than compounded.
- Use a hard pencil or knife held vertical against each tail, tracing the outline.
- Square those marks down the face to the baseline with a knife.
- Mark your waste with a pencil scribble before you saw. I have sawn on the wrong side of the line more times than I'll admit, and a scribbled X in the waste has saved me on many a Sunday.
Then saw the pins exactly as you did the tails, staying on the waste side of every line. Pins are trickier because you're often sawing at opposing angles close together, so take your time and keep the saw vertical this time rather than canted.
Pare, Test, and Sneak Up on the Fit#
Resist the urge to hammer the joint together to "see if it fits." A dovetail that goes together bone-dry with hand pressure and a light tap is right. One you have to pound is too tight and will split the board when the glue swells the fibers.
Do a dry test, and read where it binds:
- Push the joint together gently by hand. It should start to seat and then stop.
- Look for shiny crushed spots or where it refuses to close. Those are your high points.
- Pare exactly there with a sharp chisel, removing a shaving at a time. Paring is a stages game, not a single decisive cut. Test again after each pass.
The classic beginner mistake is over-paring in a panic. Take less than you think, test more than feels necessary, and the joint will suddenly slide home with a satisfying, quiet friction. If you do end up with a hairline gap on a show face, a sliver of matching wood glued in and planed flush is an honest repair that generations of cabinetmakers have used. It is not cheating; it is finishing.
Glue-Up Without the Drama#
When it's time to commit, have everything ready first, because dovetails do not wait around.
- Brush a thin film of glue on the pins and inside the sockets, not a flood. Too much glue swells the fibers and can lock a good-fitting joint before it seats.
- Tap home with a mallet and a softwood block to protect the surface.
- Check for square by measuring the diagonals, not by eyeballing the corners.
- Leave the tails and pins a touch proud, then plane them flush after the glue cures. That proud whisker you built in at the marking stage is what you're cleaning up now.
Where to Go From Here#
Cut a practice joint every weekend in the same softwood offcut and pay attention only to your sawing. Don't chase a perfect drawer on day one. Within a month of casual practice you'll be cutting joints that close cleanly, and you'll have paid for none of it with a jig gathering dust on the shelf.
The secret, if there is one, is unglamorous: learn to saw straight to a line, mark with a knife, and pare in patient stages. Do those three things and the dovetail stops being a test of nerve and becomes what it always was for the old hands, a quiet, reliable joint you can cut before lunch. Your first ones will humble you. Your tenth will surprise you. Your hundredth will make someone, someday, turn a drawer over and wonder how you did it without a machine.